Technical library

Improving the flow:
installing the first precast reformer tunnels

A summary of the 2019 World Fertilizer field report on two complete tunnel replacements.

Two ammonia plants, all tunnels replaced, summer 2018.
What went smoothly and what the first tunnel taught.

Two workers setting precast tunnel blocks inside a reformer furnace
In short

Installing a precast reformer flue gas tunnel comes down to a level floor, correctly gapped base blocks, walls stacked dry with fiber gaskets, lids that lock the wall tops, and numbered orifice inserts. In the first two installations, at unnamed US ammonia plants in 2018, the crews reached about one 43 ft tunnel every 4 hours once the floor was ready. Nine tunnels, including inserts and the connections at both ends, took about three days.

About this article

Publication World Fertilizer, April 2019 (reprint)
Title Improving the flow
Author Jeffrey Bolebruch, Blasch Precision Ceramics
Topic Installation experience with the StaBlox reformer flue gas tunnel system

What the report covers

Brick tunnels in down-fired reformers are 4 to 10 ft high, 2 to 3 ft wide and 40 to 100 ft long, laid from 9 by 3 by 6 inch bricks with buttresses and discrete expansion joints. The article names three sources of their frequent failures: mass, material selection and expansion management.

It then follows the first two jobs with the replacement system, both in the summer of 2018, several hundred miles apart and within two weeks. A refractory contractor did the work, overseen by BD Energy Systems and Blasch. In both plants every tunnel was torn out and rebuilt.

The installation, step by step

What the crews did, in the order of the report.

01

Level the floor

The tight tolerances need a flat surface. One site needed a new steel beam under the floor because the old one had warped. A leveling castable evened out low spots, and insulating firebrick went on top of it.

02

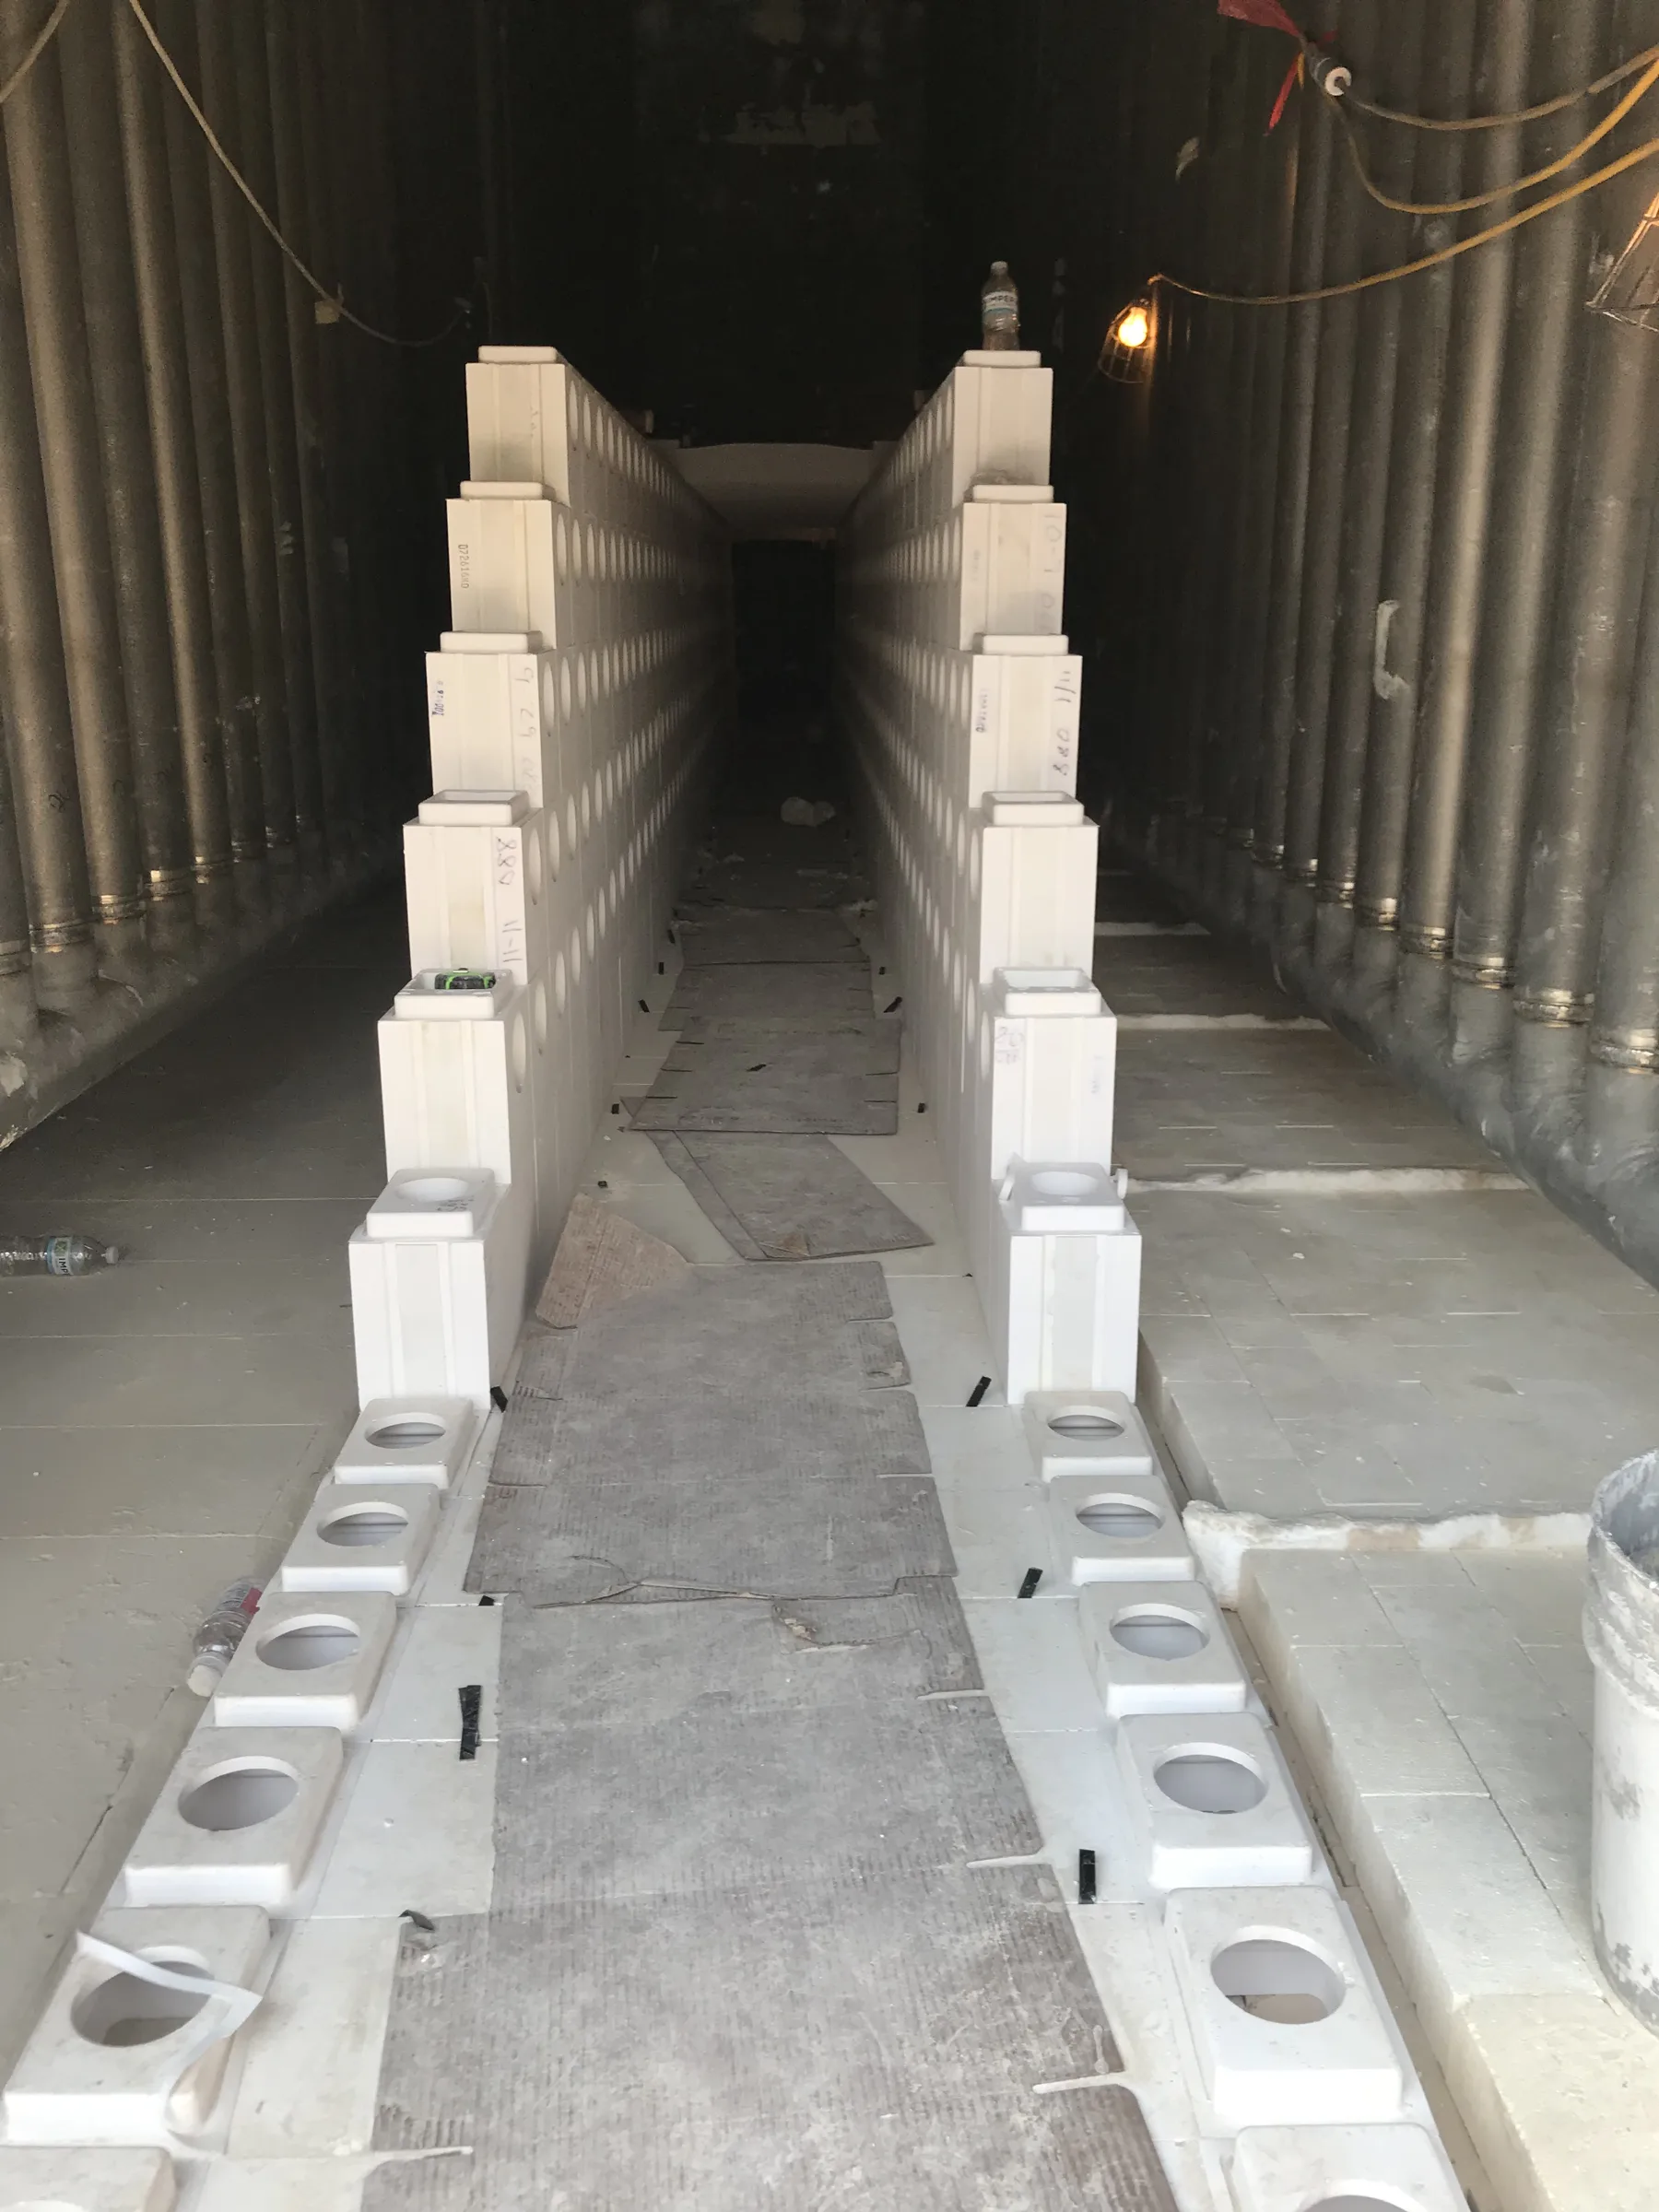
Lay and gap the base blocks

A string line keeps them straight. The gaps set the expansion room of everything above, and the overall length is the check.

03

Stack the walls

All tongue and groove blocks face one way, the vertical grooves carry fiber strips, and one person lays the horizontal fiber gaskets while the others build. Temporary rollers moved the blocks in.

04

Set the lids

They lock onto the wall tops with shiplap joints, and the walls stopped rocking as soon as the first lids were on.

05

Fit tie rods and inserts

Cradles turn 90 degrees to lock, rods sit in them, and each opening gets the insert size from 0 to 50 marked on the plan.

What the first tunnel taught

The first tunnel was laid with the calculated gap between every other base block. Once built, the gaps between side blocks and lids were too large, and the base was well over its design length: debris on a freshly swept floor had added to every gap. The next two attempts came out slightly short. After that, the crew checked the gapping by measuring the overall length of each base run.

Three of the walls were assembled and taken apart again within hours during this learning curve. The author concludes that the tunnels can be dismantled for major maintenance and rebuilt without much effort.

The floor decides

The tunnel itself goes up in hours, and most of what can go wrong is decided before the first block, on the floor it stands on.

What it means for your turnaround

At about 4 hours per tunnel, the tunnels no longer have to be built first and scaffolded over. Planners can schedule them late and do the harder work in the upper furnace first, which simplifies the scaffolding. Single tunnels can also be replaced and tuned in short outages.

The full story of these two plants is on the StaBlox tunnel replacement case study. The system itself is described on the StaBlox flue gas tunnel system page, and the operating data from one of the first reformers followed in 2020.

Frequently asked

Questions about this article

How long did one tunnel take to install?

About 4 hours for a 43 ft tunnel once the old tunnels were out and the floor was prepared, according to the report.

Were refractory masons needed?

The report describes a refractory contractor's crew stacking blocks without mortar and splitting tasks such as carrying blocks and laying gaskets. No masonry work is mentioned.

What is the most critical step?

Preparing the floor and gapping the base blocks. Errors there show up as gaps in the walls and lids above.

Can the tunnels be taken apart again?

Yes. Three walls were built and dismantled within hours during the first installation, and the author expects the tunnels can be moved for maintenance and rebuilt.

Two precast tunnel walls standing on the floor of a reformer furnace

Rebuilding tunnels
at your next turnaround?

Share your outage window and tunnel dimensions. A Blasch engineer can help you plan where the tunnels fit in the schedule.

Talk to an engineer Call